Building a DIY welding table is a foundational project for any beginner welder, offering a cost-effective way to create a sturdy, flat workspace essential for quality fabrication. A well-constructed table provides the stability needed for precise tack welding, assembly, and grinding, directly impacting the accuracy of your final products. This step-by-step guide covers material selection, structural design, and assembly techniques to help you build a durable station that meets professional standards while staying within a beginner’s budget.
Why Build Your Own Welding Table?
For hobbyists and entry-level fabricators, purchasing a high-end industrial welding station can be prohibitively expensive. However, the need for a rigid, heat-resistant, and level surface is non-negotiable in metalworking. A DIY approach allows you to customize dimensions to fit your specific workshop space and workflow requirements.
Beyond cost savings, building your own table provides valuable hands-on experience with fundamental welding joints, squareness verification, and structural integrity assessment. It serves as both a functional tool and a practical training exercise. While commercial solutions like the flexible modular fixtures offered by Botou Haijun Metal Products Co., Ltd. provide superior precision for complex aerospace or automotive applications, a homemade steel table remains an excellent starting point for general fabrication, repair work, and learning core welding skills.
Key Benefits of a Custom-Built Station
- Cost Efficiency: Utilizing scrap metal or standard structural steel reduces initial investment significantly compared to branded industrial tables.
- Customization: You determine the height, width, and depth, ensuring ergonomic comfort and adequate space for large projects.
- Durability: Heavy-gauge steel construction ensures the table can withstand heavy impacts, spatter, and high heat without warping.
- Learning Opportunity: The construction process reinforces critical skills such as measuring, cutting, fitting, and welding square structures.
Essential Materials and Tools Required
Before starting the fabrication process, gather all necessary materials and tools. Using the right grade of steel and having precise measuring instruments are crucial for achieving a flat and square table. Poor material choices can lead to warping under heat, while inaccurate measurements result in a twisted frame that compromises welding accuracy.
Material List
| Component | Recommended Specification | Purpose |
| Frame Material | 2×2 inch or 3×3 inch Square Tubing (11 gauge or thicker) | Provides structural rigidity and supports heavy loads. |
| Tabletop Surface | 1/4 inch (6mm) or 3/8 inch (10mm) Hot-Rolled Steel Plate | Offers a flat, heat-resistant workspace; thicker plates resist warping better. |
| Legs | 2×2 inch Square Tubing or Angle Iron | Supports the frame; ensure wall thickness matches the frame for consistency. |
| Gussets/Bracing | Scrap steel pieces or angle iron | Reinforces joints to prevent racking and increases overall stability. |
| Casters (Optional) | Heavy-duty locking casters (rated for 500+ lbs each) | Enables mobility; must be mounted securely to handle dynamic loads. |
Tool Requirements
- Welder: MIG welders are recommended for beginners due to ease of use on clean steel. Stick welders are also viable but require more skill to maintain consistent beads on thin tubing.
- Angle Grinder: Equipped with cut-off wheels for trimming and grinding discs for smoothing welds and removing mill scale.
- Measuring Tools: A high-quality tape measure, a reliable speed square, and a framing square are essential for ensuring 90-degree angles.
- Clamps: Multiple C-clamps or locking pliers to hold pieces in place during tack welding.
- Safety Gear: Auto-darkening helmet, fire-resistant gloves, apron, and safety glasses.
Step-by-Step Construction Guide
Follow this structured workflow to ensure your DIY welding table is square, flat, and durable. Rushing any step, particularly the squaring phase, will result in a compromised structure that is difficult to use for precision work.
Step 1: Design and Cutting
Begin by sketching a simple design. A standard rectangular frame with four legs is the most stable and easiest to construct. Determine your desired working height—typically between 34 and 36 inches for standing work. Calculate the length of tubing needed for the top frame, bottom shelf (optional), and legs.
Use your angle grinder to cut the square tubing to length. Ensure cuts are as close to 90 degrees as possible. Imperfect cuts create gaps that are difficult to weld and can throw off the squareness of the frame. Deburr all cut edges to ensure tight fit-ups.
Step 2: Assembling the Top Frame
Lay out the four pieces of tubing for the top rectangle on a flat concrete floor or existing level surface. Use your framing square to check each corner. Clamp the pieces tightly together.
Tack weld each corner initially. Do not complete the welds yet. Tack welding allows you to make adjustments if the frame twists. After tacking, re-measure the diagonals from corner to corner. If the diagonal measurements are identical, the frame is square. If they differ, adjust the frame by pushing or pulling until the measurements match, then re-tack.
Step 3: Attaching the Legs
Once the top frame is confirmed square, position the four leg pieces at each corner. Use a speed square to ensure each leg is perpendicular (90 degrees) to the frame in both directions. It is helpful to have an assistant hold the legs or use vertical clamps.
Tack weld the legs to the inside or outside of the frame corners. Again, measure diagonals across the entire structure (from top of one leg to bottom of the opposite leg) to ensure the assembly has not racked. Add cross-bracing between the legs if the table feels unstable. Bracing significantly increases torsional rigidity, which is vital when hammering or clamping workpieces.
Step 4: Installing the Tabletop
Place the steel plate on top of the completed frame. Ensure it overhangs slightly or sits flush, depending on your design preference. Center the plate carefully.
Tack weld the plate to the frame at regular intervals (every 6-8 inches). Start from the center and work outward to minimize heat-induced warping. Allow the metal to cool between tacks. Once fully tacked and confirmed flat, proceed to stitch weld or fully weld the perimeter. Grinding the welds flush with the tabletop creates a smooth surface ideal for sliding workpieces.
Step 5: Finishing Touches
Grind all external welds smooth to prevent snagging clothing or damaging materials. If you plan to add casters, reinforce the bottom of the legs with mounting plates before attaching them. Apply a high-heat resistant paint or leave the steel bare, depending on your aesthetic and functional preferences. Bare steel develops a patina over time but requires occasional oiling to prevent rust.
Common Mistakes to Avoid
Even experienced fabricators encounter issues when rushing. Being aware of common pitfalls can save time and material costs.
- Ignoring Diagonal Measurements: Relying solely on corner squares is insufficient. A parallelogram can have four 90-degree corners locally but still be twisted. Always verify with diagonal measurements.
- Using Thin-Gauge Steel: Avoid tubing with walls thinner than 11 gauge for the main frame. Thin steel flexes under load and burns through easily during welding, leading to weak joints.
- Over-Welding Without Cooling: Applying continuous long beads generates excessive heat, causing the steel to expand and warp. Use tack welding and allow cooling periods to maintain dimensional stability.
- Neglecting Ground Connection: Ensure your welding ground clamp is attached directly to the piece being welded, not just the table frame, to ensure arc stability and prevent damage to the table structure.
DIY Tables vs. Professional Modular Systems
While a DIY table is an excellent starting point, understanding its limitations compared to professional systems helps in planning your workshop evolution. As your projects become more complex, requiring higher precision and repeatability, the limitations of a fixed flat plate become apparent.
| Feature | DIY Welding Table | Professional Modular Fixtures (e.g., Haijun Metal) |
| Initial Cost | Low (Scrap/Standard Steel) | Higher Initial Investment |
| Precision | Dependent on builder skill; may warp over time | High-precision machined surfaces; guaranteed flatness |
| Flexibility | Fixed surface; limited clamping options | Modular holes/slots for universal clamping and positioning |
| Setup Time | Manual measurement and squaring for each part | Rapid positioning using standardized accessories |
| Best For | General repairs, hobby projects, learning basics | Complex assemblies, batch production, aerospace/auto parts |
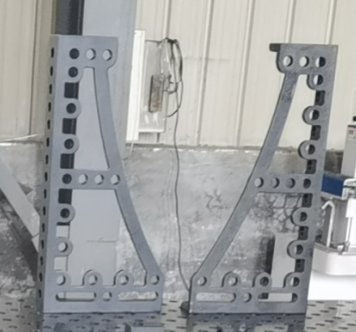
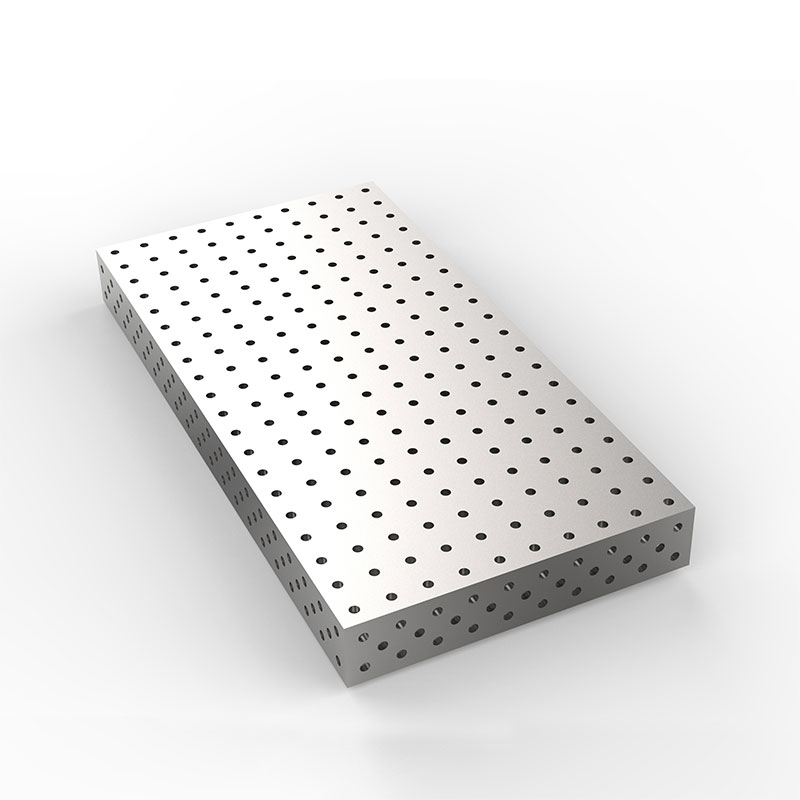
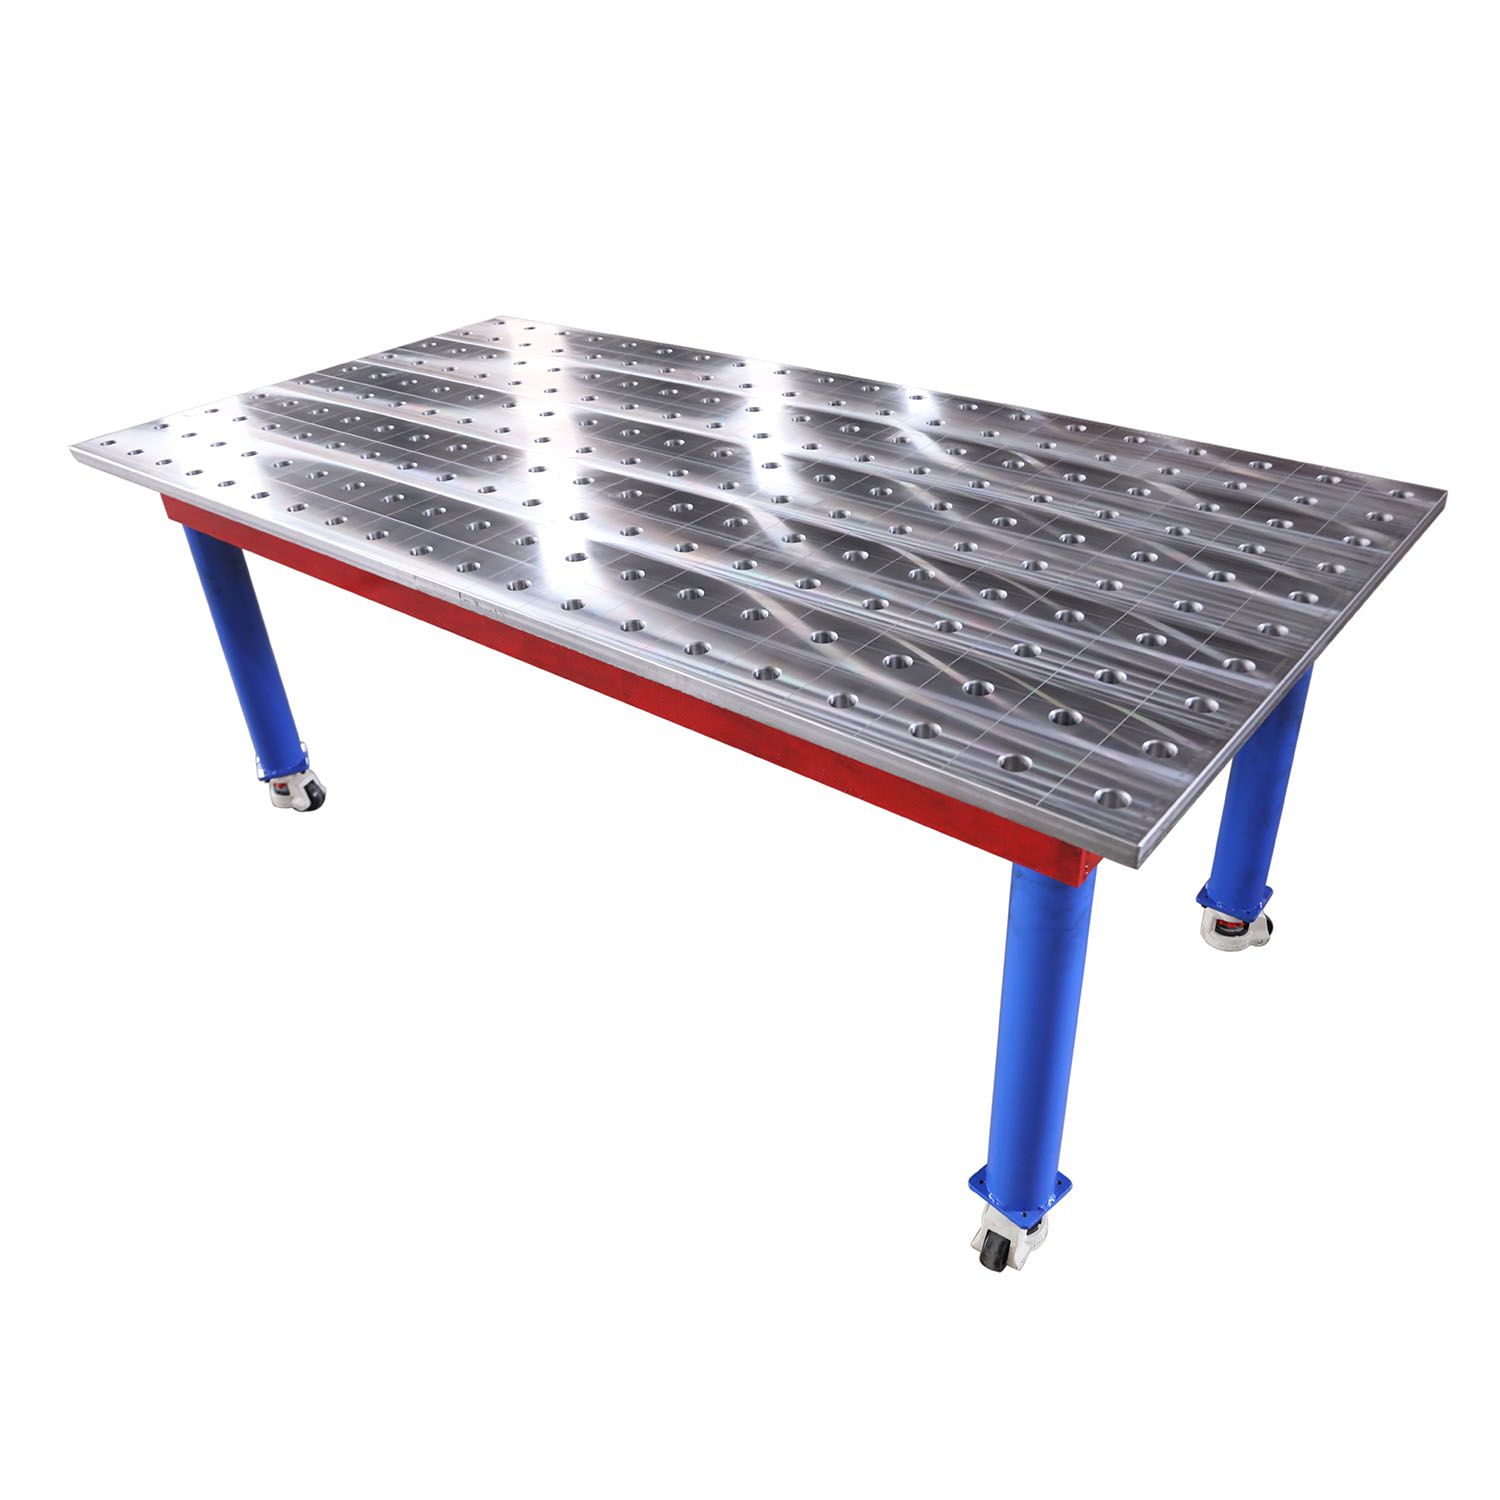
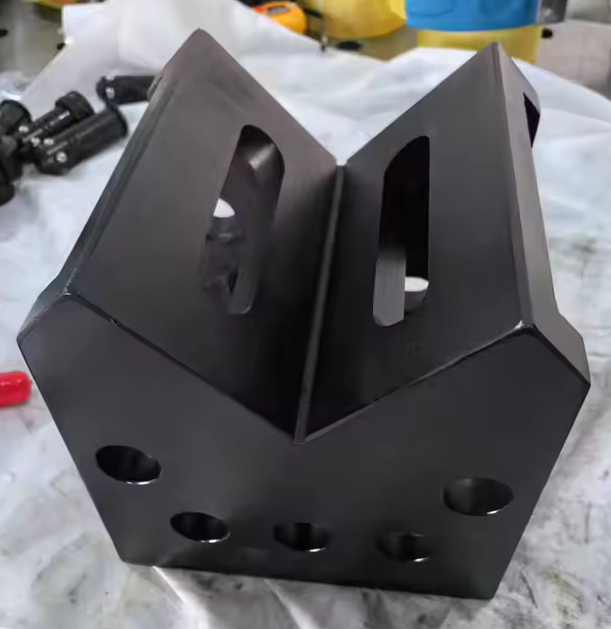
For businesses or serious fabricators moving beyond basic repairs, integrating professional tools becomes essential. Botou Haijun Metal Products Co., Ltd. specializes in high-precision flexible modular fixtures that address the precision gap. Their 2D and 3D flexible welding platforms allow for rapid workpiece positioning using complementary components like U-shaped square boxes and universal angle gauges. Unlike a static DIY table, these systems enable users to secure complex geometries quickly and accurately, significantly reducing setup time and improving weld quality in professional environments.
Maintenance and Longevity Tips
A welding table is a tool that endures harsh conditions. Proper maintenance extends its life and maintains its utility.
- Regular Cleaning: Remove slag, spatter, and dust after each use. Buildup can interfere with clamping and cause uneven surfaces.
- Flatness Checks: Periodically check the tabletop for flatness using a straight edge. If minor warping occurs, it can sometimes be corrected with heat straightening or grinding.
- Rust Prevention: If stored in a humid environment, apply a light coat of oil or use a rust-inhibiting spray. Rust pits can transfer to your workpieces, affecting weld quality.
- Structural Inspection: Check weld joints annually for cracks, especially if the table is subjected to heavy hammering or dynamic loads. Repair any compromised joints immediately.
Frequently Asked Questions (FAQ)
What is the best thickness for a DIY welding table top?
For most beginner to intermediate applications, a 1/4 inch (6mm) steel plate is ideal. It offers a good balance between weight, cost, and resistance to warping. For heavy industrial use or large-scale fabrication, 3/8 inch (10mm) or thicker is recommended to withstand higher heat input and heavier workpieces without deforming.
Can I use aluminum for a welding table?
Aluminum is generally not recommended for a general-purpose welding table. It has a lower melting point and is softer than steel, making it prone to damage from sparks, slag, and heavy tools. Additionally, aluminum conducts heat rapidly, which can affect weld pool control. Steel remains the industry standard due to its durability and heat resistance.
How do I ensure my DIY table stays square over time?
Proper bracing is key. Adding triangular gussets at the corners where legs meet the frame prevents racking. Also, avoid dropping heavy objects on the table or using it as an anvil for heavy hammering, as this can distort the frame. Regularly checking diagonal measurements helps monitor any shifts in structure.
Is it better to weld or bolt the tabletop?
Welding provides a permanent, rigid connection that ensures the top does not shift during use. Bolting allows for replacement of the top if it becomes severely warped or damaged. For beginners, welding is simpler and provides greater overall rigidity. If you choose bolting, ensure high-strength bolts are used and holes are precisely drilled.
What are the advantages of modular welding fixtures over a flat table?
Modular fixtures, such as those developed by Botou Haijun Metal Products Co., Ltd., offer superior versatility. They feature standardized hole patterns that accept various clamps, stops, and squares. This allows for precise, repeatable positioning of parts without manual measurement for every job. This is particularly valuable in batch production or when working with complex 3D assemblies where holding parts at specific angles is critical.
Conclusion: From DIY Foundations to Professional Precision
Building a DIY welding table is a rewarding project that establishes a solid foundation for your metalworking journey. It teaches essential skills in measurement, squaring, and structural welding while providing a customized workspace tailored to your needs. By following the steps outlined above—selecting appropriate materials, ensuring rigorous squareness, and maintaining the structure—you can create a reliable station for years of fabrication.
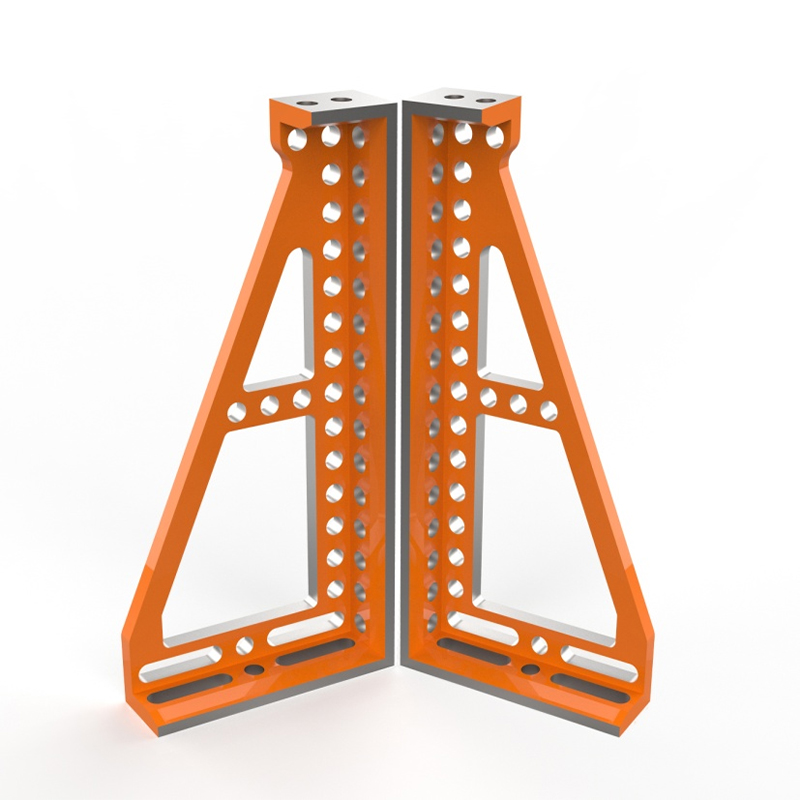
However, as your skills advance and project complexity increases, the limitations of a static, homemade table may become apparent. Precision-critical industries such as automotive and aerospace demand repeatability and flexibility that go beyond basic flat surfaces. This is where professional solutions excel. Botou Haijun Metal Products Co., Ltd. offers advanced 2D and 3D flexible welding platforms and complementary accessories like support angle irons and angle connection blocks. These tools transform welding from a manual, measurement-heavy process into an efficient, precision-driven workflow.
Whether you are starting with a DIY build or ready to upgrade to modular fixturing, understanding the importance of a stable, accurate workspace is the first step toward high-quality welding results. Evaluate your current needs and future goals to choose the right setup for your workshop.
For more information on high-precision welding solutions and modular fixtures, explore our range of professional tools designed to enhance efficiency and accuracy in modern manufacturing.
View Our Flexible Welding Platforms and Accessories