Build Your Own DIY Welding Fixture Table: A Comprehensive GuideThis guide provides a step-by-step approach to building a robust and versatile DIY welding fixture table, covering material selection, design considerations, construction techniques, and essential tools. Learn how to create a customized solution tailored to your specific welding needs.
Building the Ultimate DIY Welding Fixture Table
A dedicated welding fixture table is an invaluable asset for any welder, significantly improving efficiency, accuracy, and overall weld quality. While pre-fabricated options exist, building your own DIY welding fixture table offers unparalleled customization and cost savings. This guide walks you through the entire process, from initial planning to the final welds.
Planning Your DIY Welding Fixture Table
Determining Size and Functionality
Before you begin, carefully consider the dimensions of your DIY welding fixture table. The size should accommodate your largest workpiece comfortably, with enough extra space for tools and maneuverability. Think about the types of welding you’ll be performing and the specific fixtures you’ll need. Will you be primarily working with small components or large assemblies? This will influence the table’s design and the types of clamping mechanisms you incorporate.
Choosing the Right Materials
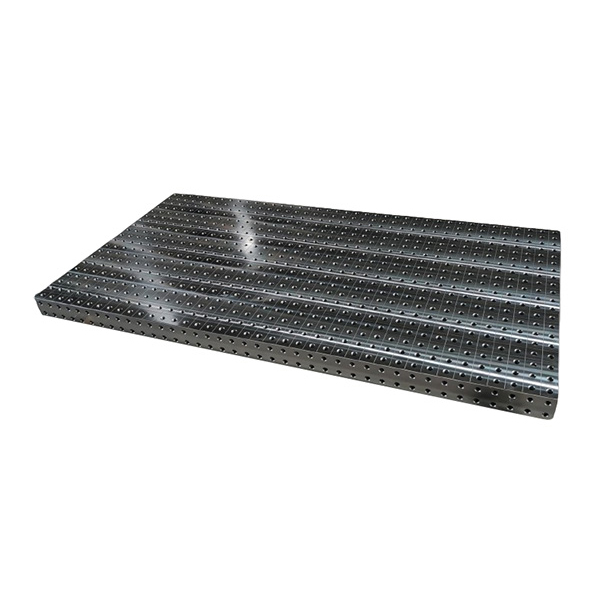
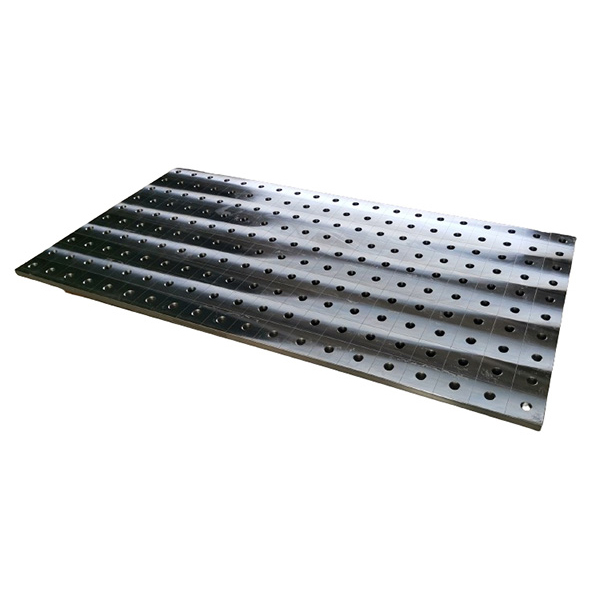
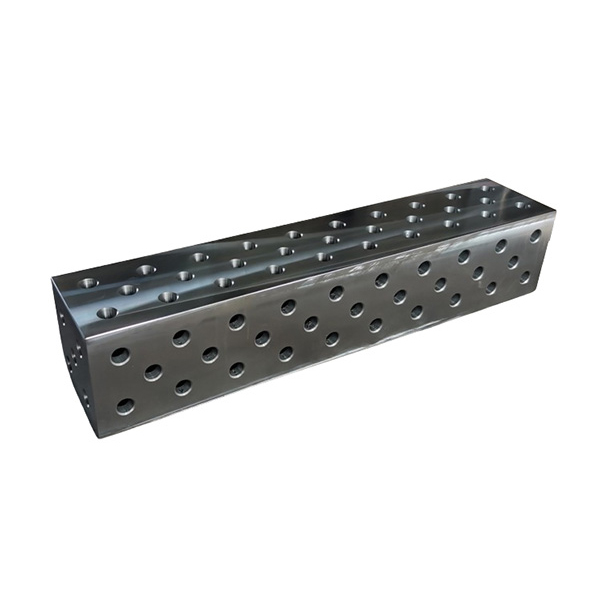
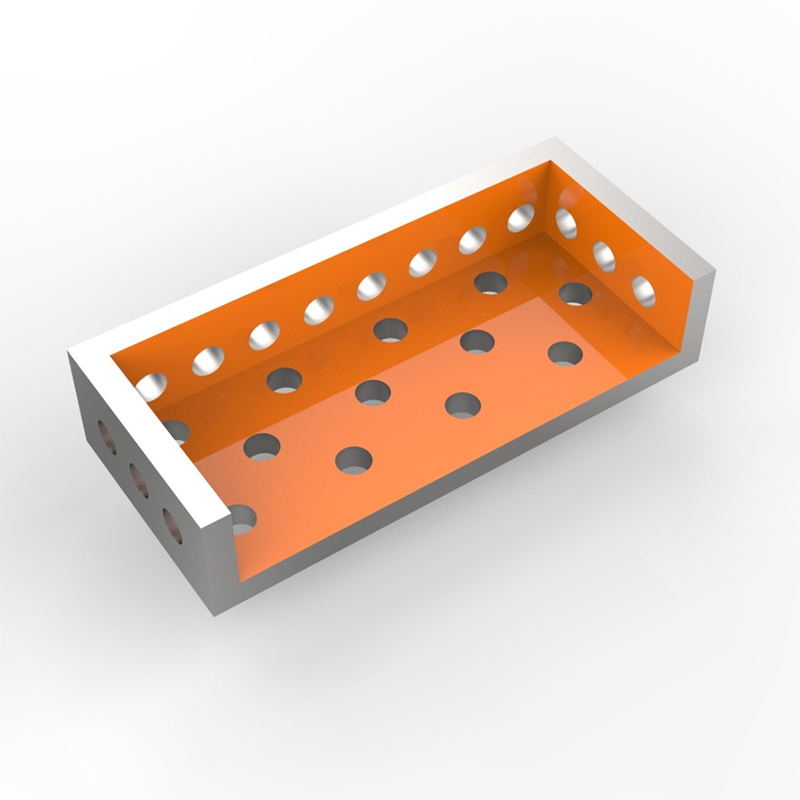
The material selection for your DIY welding fixture table is crucial for durability and stability. Steel is a popular choice due to its strength and weldability. Consider using thicker steel plates (at least 1/4 or 6mm thick) for the table top to ensure rigidity. For the frame, square or rectangular steel tubing provides excellent strength and a clean aesthetic. Remember to consider the weight capacity of your chosen materials, especially if you plan on welding heavy pieces. High-quality steel from reputable suppliers like Botou Haijun Metal Products Co., Ltd. ensures a long-lasting, reliable table.
Constructing Your DIY Welding Fixture Table
Building the Frame
The frame provides the foundation for your DIY welding fixture table. Use appropriate welding techniques (MIG, TIG, or stick welding depending on your experience and materials) to securely join the steel tubing. Ensure square corners and accurate dimensions for a sturdy and level table. Consider adding bracing for increased stability, especially for larger tables. Precise measurements and careful welding are key to a strong and durable structure.
Attaching the Table Top
The table top should be securely fastened to the frame. Welding is generally the most robust method. Use appropriate welding techniques and ensure the top is perfectly level and aligned with the frame. Consider adding a layer of anti-vibration material to the underside of the tabletop to dampen vibrations during welding.
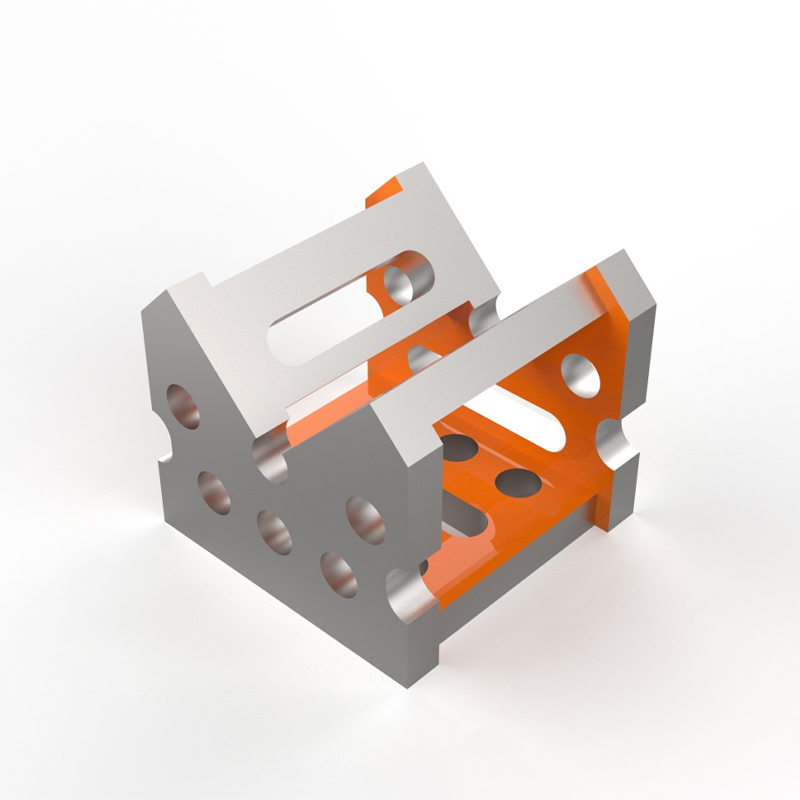
Adding Clamps and Fixtures
This is where your DIY welding fixture table truly comes to life. Install a variety of clamps and fixtures that suit your welding needs. Consider different clamp types, such as: C-clamps, parallel clamps, toggle clamps, and magnetic clamps. You might also want to consider incorporating pre-drilled holes for easy fixture attachment. Think about creating a modular design, allowing you to easily add or remove fixtures as needed.
Essential Tools and Equipment
Building a DIY welding fixture table requires several tools and equipment. Ensure you have the following:
| Tool |
Purpose |
| Welding machine (MIG, TIG, or stick) |
For joining steel components |
| Measuring tape and square |
For accurate measurements |
| Grinder with cutting and grinding discs |
For cutting and shaping steel |
| Drill with various drill bits |
For drilling holes for fixtures |
| Welding clamps |
To hold components in place during welding |
Conclusion
Building your own DIY welding fixture table is a rewarding project that offers significant benefits in terms of cost savings, customization, and improved welding efficiency. By following these steps and adapting the design to your specific needs, you can create a durable and versatile table that will enhance your welding workflow for years to come. Remember to prioritize safety and always adhere to proper welding safety procedures.